
A tenant gives notice, a painter is available next Thursday, and somebody wants to photograph the unit this weekend. The dates sound close enough until the keys are late, the cleaner arrives before the repair is finished, and the listing promises an availability date nobody has confirmed.
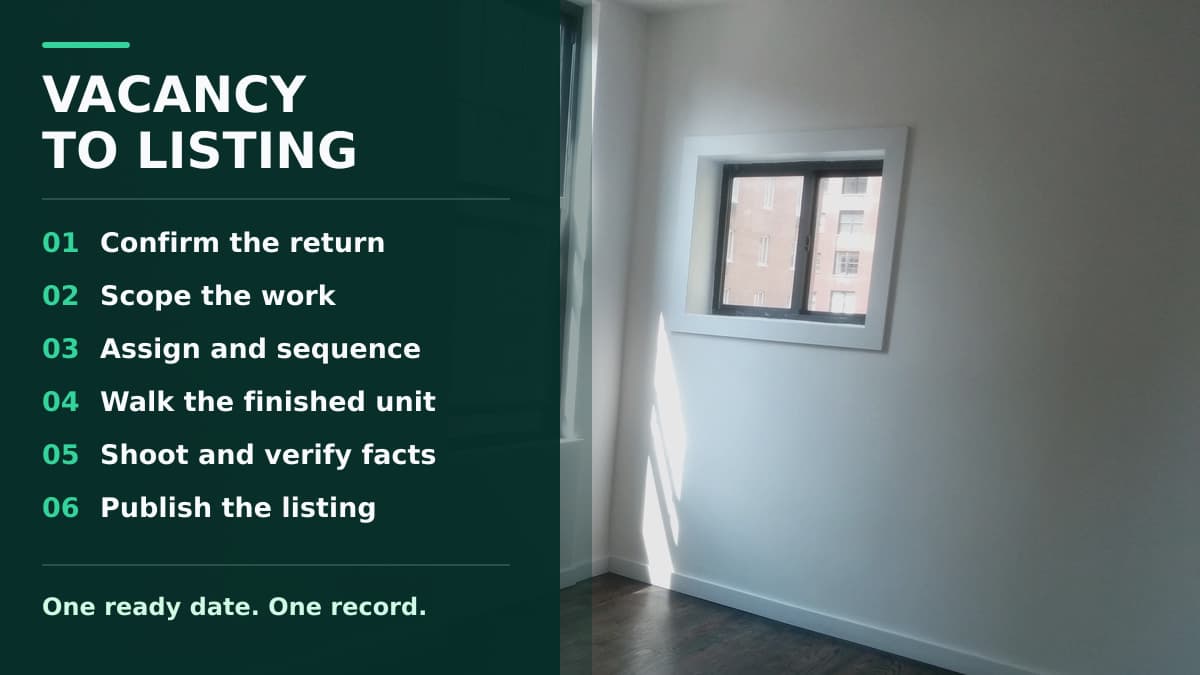
Run each vacancy from one working checklist. Give it a target ready-to-show date, name the work that must happen before that date, and keep the listing tied to what is true in the unit. This is not a long inspection form. It is where the dates, work, and listing meet.
Confirm the exit before scheduling the turnover
Start with the date and condition that create the vacancy. Record the expected move-out date, key return method, forwarding-contact process, utility handoff, and the earliest lawful access time for the final condition check. Treat the expected date as expected until the unit is actually returned under the lease and local requirements.
Write down what is still uncertain. If the tenant may leave early, note the earlier date as a possibility rather than promising it to a vendor. If a set of keys or an access device is missing, give that item an owner and follow-up date. A vacancy plan built on an assumed handoff can waste the first few days before the work even starts.
This article provides general operating information, not legal advice. Entry, notices, property left behind, deposits, and turnover duties depend on the lease and current local law. Check the requirements that apply to the property before acting.
Build one scope from the first empty-unit walk
Walk the returned unit once with a camera, a room list, and a way to record decisions. Photograph the overall condition before moving anything. Then move room by room and note damage, cleaning, safety issues, missing items, ordinary wear, and anything that needs a closer review. Keep deposit accounting separate from the turnover scope. The scope answers what the unit needs next, not who will ultimately pay.
Split the list into work required before showing, work required before move-in, and optional improvement. A broken lock, active leak, failed appliance, loose handrail, or unsafe electrical condition does not belong in the same decision bucket as changing a dated light fixture. This order makes the schedule useful when time or money is tight.
Give each line a location, a clear result, and evidence. "Bedroom two: patch and paint two anchor holes on north wall" is assignable. "Touch up paint" invites a second walk and a second interpretation. Attach the starting photo to the line so the person doing the work can see the boundary without hunting through a general album.
Schedule by dependency, not by whoever answers first
Some turnover tasks cannot sensibly overlap. A leak repair comes before cabinet-base replacement. Drywall patching comes before paint. Paint and dusty work come before the final clean. Floor finish may need curing time before anyone moves appliances or brings in staging. Put these dependencies into the schedule instead of booking every available vendor for the same morning.
Assign one owner and one due date to each item. Include access instructions, approval limit, material choice, and the evidence required at completion. For work handled by a vendor, record the confirmed appointment rather than the time you first requested. For work you handle yourself, reserve the time on the same calendar instead of treating it as leftover work.
Protect a small inspection window between the last job and the ready date. That gap is where you catch paint drips, a missing switch plate, a cabinet full of supplies, or a repair that did not solve the original problem. Booking a showing at the exact minute the cleaner expects to finish leaves no room for a real handoff.
Use a ready standard that can be checked
Define ready before the final walk. The unit should be secure, clean, free of abandoned work materials, and consistent with the condition and features the listing will describe. Required systems and supplied appliances should operate as intended. Lights used for the showing should work, odors or active moisture should be investigated, and doors, windows, cabinets, and fixtures should be checked rather than assumed.
Repeat the original room sequence during the final walk. Close each scope line with a completion note and a current photo. Test repairs under the condition that exposed the problem when that can be done safely. If a sink leaked, run it and inspect the connection. If a door would not latch, cycle it several times. Keep specialized electrical, gas, structural, fire-safety, and similar checks with qualified people.
Do not mark the unit ready because the large jobs are done. List the open item, decide whether it blocks showing or move-in, and set the next action. A small cosmetic item can remain visible without delaying the listing. An unresolved safety or habitability issue needs the appropriate response before the unit gets advertised.
Build the listing from the finished unit
Photograph after the final clean, during useful natural light when possible. Use a repeatable room order and show the actual space, storage, appliances, outdoor areas, parking, and access features a prospect needs to understand. Remove tools, paint cans, trash bags, and personal documents from the frame. Avoid wide-angle choices or edits that make rooms look materially different from reality.
Write the listing from verified facts. Check the address, unit label, monthly rent, deposit or other permitted charges, available date, included utilities, parking, pet terms, supplied appliances, accessibility facts, and showing instructions against the current records. Do not reuse last year's description until every claim has been checked against the unit that is ready now.
LetsGoLandlord can turn a vacant unit into a shareable public listing page, and applications submitted from that page appear in the Listings workspace. Publish only after the facts, photographs, asking terms, and available date agree. If the ready date changes, update the listing before the next prospect relies on it.
Track the first week as part of the turnover
A live listing is not the end of the vacancy checklist. Record where it was shared, when it went live, and which version of the photographs and terms were used. Keep applications tied to the same unit, and record inquiries in the same place you manage the listing so replies do not drift across personal texts, marketplace messages, and email threads.
Review the first few days for repeated questions and mistakes. If prospects keep asking about a fact that is already known, add it to the listing. If people arrive with the wrong parking or entry instructions, fix the message. If the available date slips, correct it everywhere rather than explaining the mismatch one person at a time.
Close the turnover record when the unit is ready, the final evidence is saved, the listing is accurate, and every leftover item has a named next action. Keep the actual move-out, work, and ready dates. Those dates show where this vacancy lost time and give the next turnover a schedule based on your own operation instead of guesswork.